
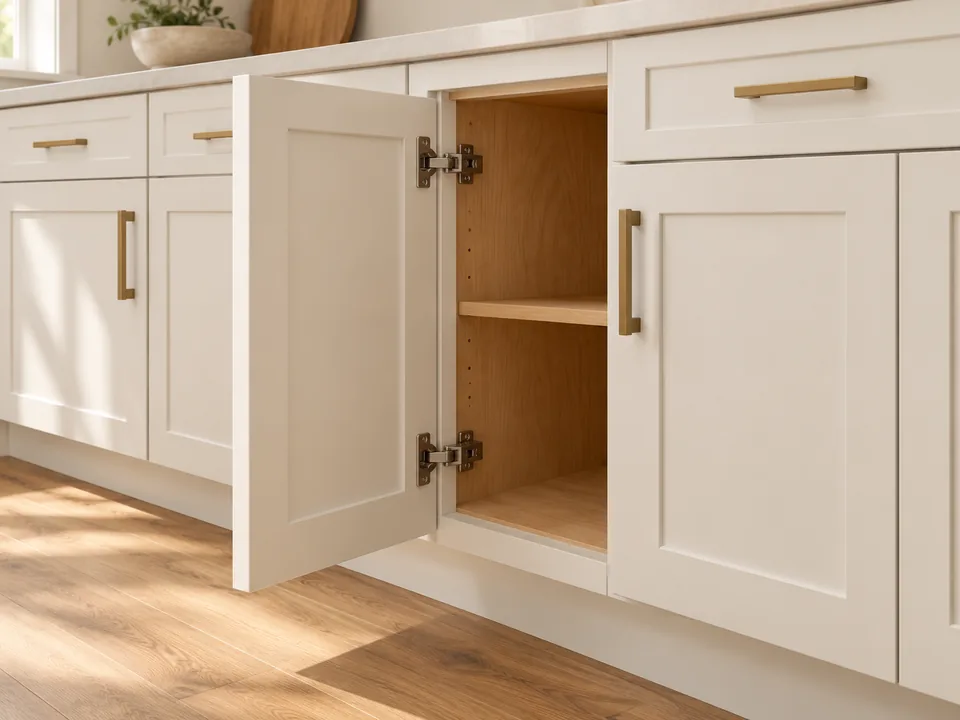
Replacement holes and new drilling are different scopes
Cabinet hardware installation cost depends on quantity, hole compatibility, layout, cabinet condition and finish work. Replacing a pull with a compatible part in existing sound holes is different from laying out and drilling a kitchen that has never had hardware. Changing the hole pattern can add a visible repair decision.
Count knobs and pulls separately, and distinguish doors from drawer fronts. Send the proposed product information before buying a complete set when dimensions are uncertain. This guide explains the work that affects a quote; it does not invent a flat price per handle or assume that every cabinet front accepts the same fastener.
A useful request identifies what stays, what changes and the desired placement. Photos of the whole cabinet run, a representative door and drawer, and the existing holes help VPS review the project. The handle's retail price is only one part of the scope if old holes, alignment or damaged fronts also need attention.
Measure the hole pattern correctly
For a pull using two mounting holes, center-to-center spacing means the distance between the centers of those holes. It is different from the overall length of the pull, as explained in Liberty Hardware’s measurement reference. A product can look similar and still use a different spacing. Compare the actual product specification with the existing holes before assuming a direct replacement.
Photograph a ruler or tape beside accessible holes where practical. If you cannot identify the centers clearly without removing unfamiliar hardware, mark the measurement as provisional. Record whether all fronts use the same pattern; older kitchens may contain a mix of sizes or previous repairs.
Also consider the pull's projection and usable grip. A compatible hole pattern does not guarantee clearance beside an appliance, wall or neighboring handle. Show tight corners and doors that open toward each other so operation can be reviewed along with appearance.
Agree on layout before permanent drilling
New holes require a placement decision. The preferred position can depend on the door style, drawer-front proportions and the way the cabinetry is used. A product photo is helpful inspiration, but it does not communicate exact placement across your particular set of fronts.
Ask to approve a representative layout before drilling begins. Include unusually wide drawers, paired doors and narrow fronts in that review. Decide whether matching a repeated visual line or centering within individual panels is the intended result. Do not leave those choices to an assumption that every front is identical.
Templates and jigs help transfer an agreed layout; they do not choose it. Manufacturer installation guidance for the selected hardware remains relevant. A sample or marked layout should be checked against actual parts and cabinet geometry before a full run is drilled, because moving a hole afterward creates a separate finish repair.
Understand door and drawer-front construction
A door may present a different thickness and fastening arrangement from a drawer front attached to a drawer box. Decorative profiles, recessed panels and layered fronts can also affect access and hardware fit. Send an accessible inside view as well as the outside appearance.
Keep supplied screws and packaging with the hardware, but do not assume every included fastener will suit every front. The installer should confirm compatibility with the actual assembly. Missing parts or a changed handle model can delay work that otherwise appeared ready.
Loose hinges, broken runners and a separating drawer box should be listed separately. New handles do not repair those mechanisms. The drawer-slide repair guide helps organize a related drawer problem, while the soft-close guide addresses a different upgrade that may be coordinated with the visible hardware change.
Decide how old holes will be handled
If the new hardware uses a different pattern, ask what happens to the old holes. A larger backplate or a different handle may cover some existing marks, but that should be verified on the actual front. Filling a hole and making the finish look unchanged are separate tasks.
Painted, stained and factory-finished surfaces can require different repair decisions. A small filled area may remain visible because of sheen, texture, grain or aged color. Decide whether a local touch-up is acceptable or whether a larger finish boundary should be included. Do not approve a placement change on the assumption that all previous holes will disappear invisibly.
Where matching matters, review a sample or one representative front before extending the work across the room. If fronts are already damaged or heavily altered, compare repair with replacement as a separate scope. The hardware choice should fit that decision, rather than forcing an expensive finish problem after the new parts arrive.
Quantity, access and sequencing
Make a simple inventory by cabinet location and hardware type. For example, distinguish the kitchen's door knobs from a bathroom's drawer pulls rather than presenting one combined count. Identify any unusual front or tight location that needs individual review. Repetition can help organize setup, but it does not make every opening equivalent.
Confirm who clears drawers and cabinets as needed for access. If painting or refinishing is planned, coordinate drilling, finish work and final hardware installation. Do not assume a fresh finish is ready for handling simply because the hardware appointment is scheduled.
Ask whether removal of old hardware, sorting reusable parts and disposal are included. If some cabinets will be completed later, label the remaining hardware and retain product details. That reduces confusion when a phased project returns to the room.
Quote and completion checklist
Send quantities, exact product links, known hole spacing, whole-room photos and inside views of representative fronts. Add placement preferences, damaged holes, finish concerns and any related hinge or drawer repairs. Keep unknown measurements marked for verification.
The quote should identify direct replacements, new drilling, old-hole repair and finishing separately where those tasks apply. A change to the chosen product or layout may require a revised review. For combined drawer work, use the cabinet drawer service page to describe the functional problem alongside the hardware request.
At completion, check alignment, ordinary grip, door and drawer movement, and clearance at nearby appliances or walls. Confirm that each listed front received the agreed hardware and note any deferred finish work. Keep spare parts and product information together so future repairs can use the same specification instead of relying on a close visual guess.